Got Stuck? Try This comprehensive guide to sew Your denim

If you’ve no idea how to sew denim or got stuck, this detailed guide will assist you. I took the time to get images of most of the steps so that you can refer to any step of the process you’ll like, and get going with your denim project.
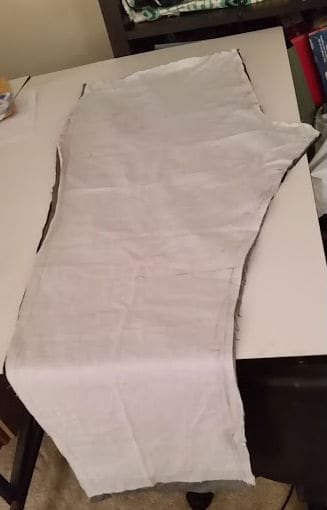
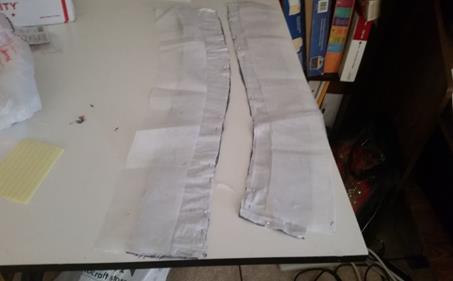
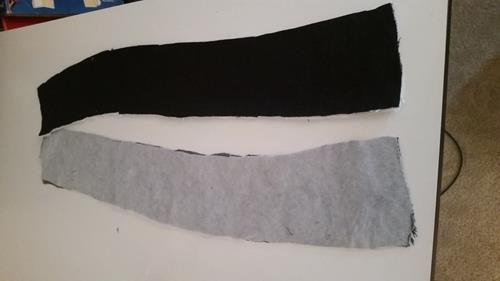
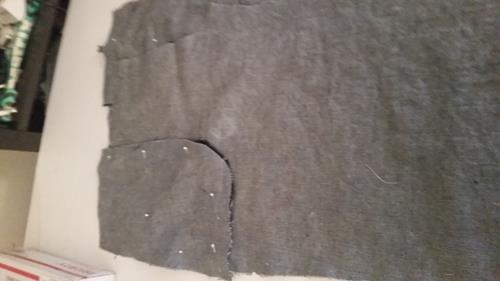
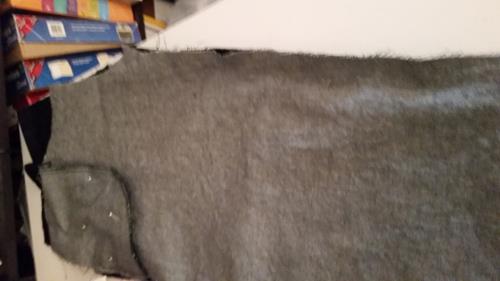
- Cut out the front of the jeans from the black denim material with wrong sides together.
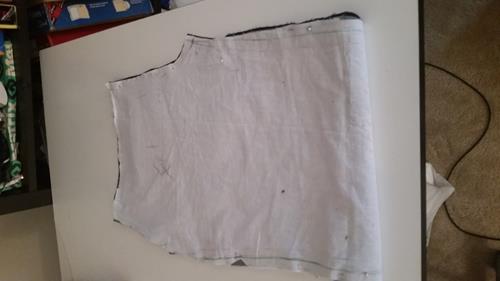
- Do same with the back of the jeans.
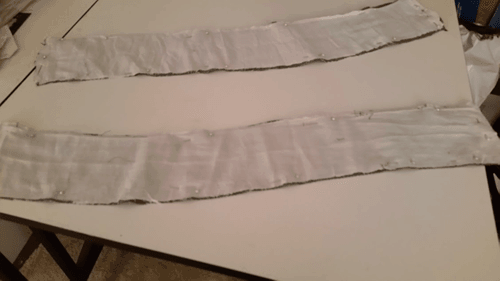
- Cut out the two waistband pieces (front and back) from the denim with wrong sides together. Pieces were cut out separately as the back piece was customized; the length was cut slightly shorter by 1” approximately due to a narrow rear end with wider hips.
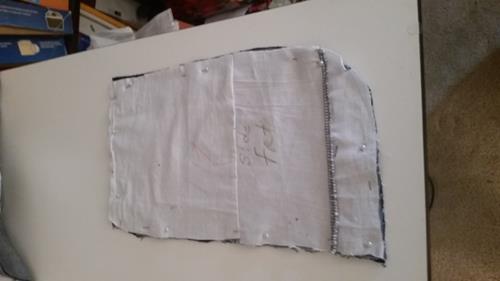
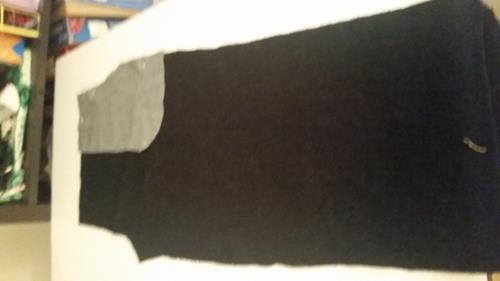
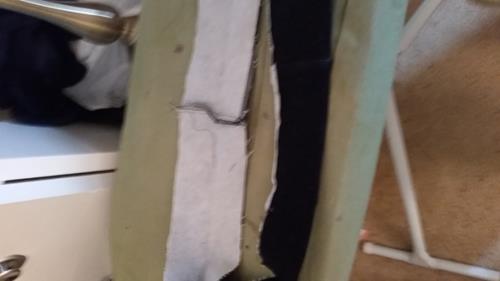
- Cut out the side front pocket from the fabric. Note: The pattern piece was extended 3” longer for a deeper pocket.
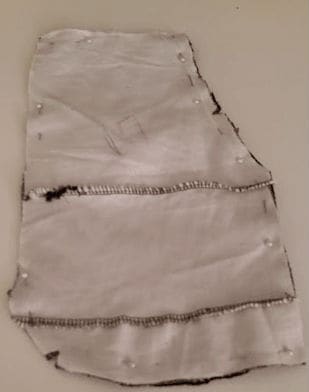
- Cut out the pocket lining of the jeans. Notes: The lining was cut out of the same black denim material versus muslin. Also, this pattern piece was extended 3” longer as well for a deeper pocket.
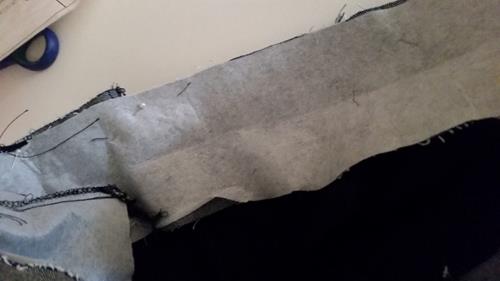
- Cut out the two waistband pieces from interfacing. Fusible side of the interfacing should be up as the piece will be ironed to the wrong side of the material. Notes: Interfacing suitable for midweight to heavyweight fabric was used due to the fabric weight. Be sure to use interfacing appropriate to the weight of the fabric.
- Place the fusible side of the interfacing on the wrong side of the waistband pieces. Trim around the interfacing 1/8”, and then iron the interfacing onto the waistband pieces using the general directions on the interfacing.
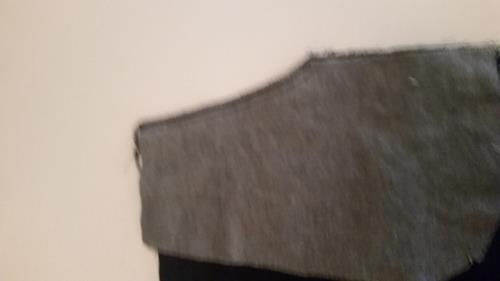
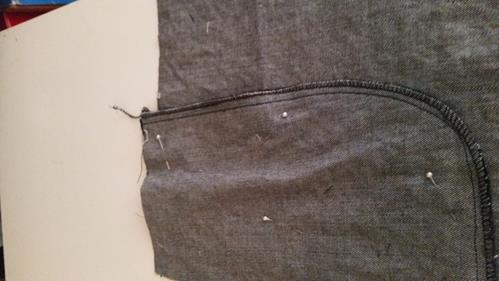
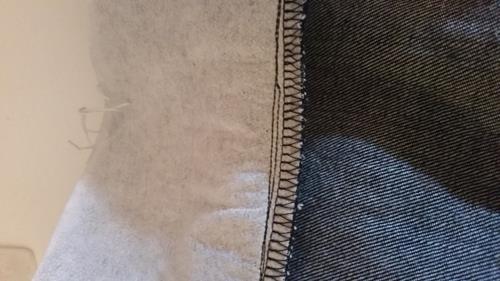
- Pin the wrong side of the pocket lining to the right side of the jean front, and then stitch the pocket lining to the side edge of the front piece.
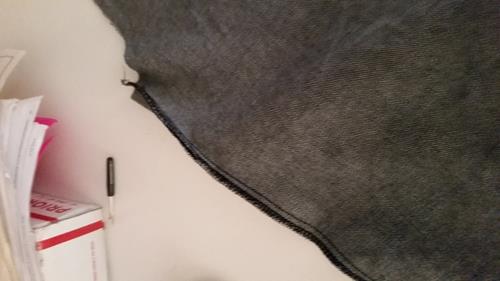
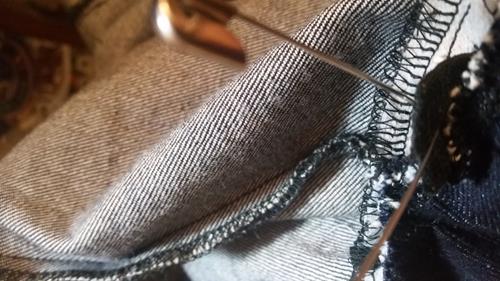
- Next, serge the edge you just sewed (or trim seam allowance by ¼” then finish the seam edges as desired).
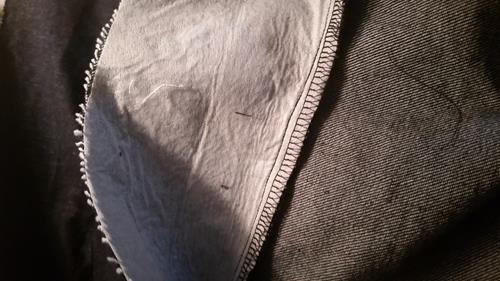
- Turn the pocket lining to the inside. Press, and then topstitch the side edge of the front you turned.
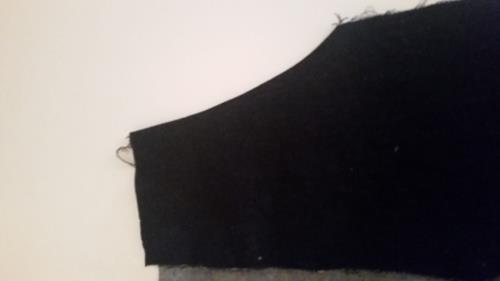
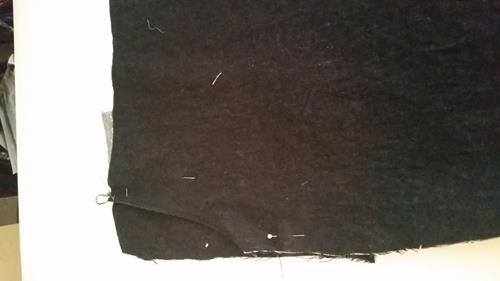
- Align the side front piece to the pocket lining on the wrong side of the front piece, and then pin them together making sure to keep them free from the front pants piece. Stitch the outer edge of pocket lining to side front.
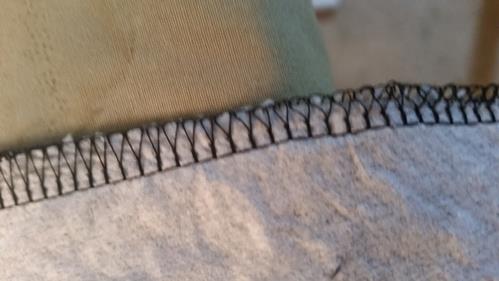
- Serge the pocket or finish edges as desired.
- On the right side of the front pants section, pin the outer side edge to the garment. Then pin the top edge of the pocket to the garment. Baste across the top edge off from the left side of the pocket to its end within the seam allowance to secure it. Then baste the side edge of the pocket to the end of the pocket to the pocket lining using a 3/8” seam.
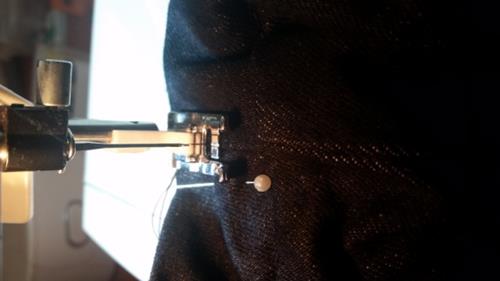
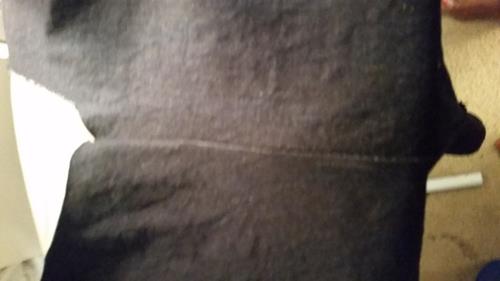
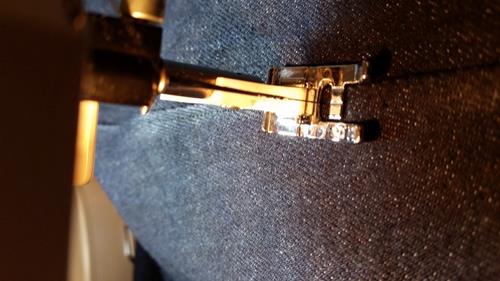
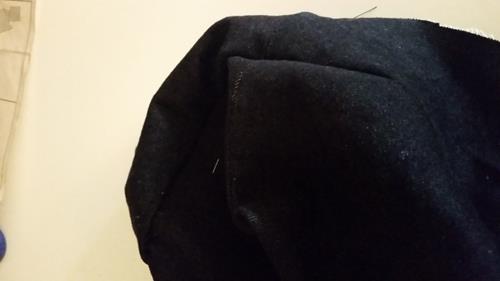
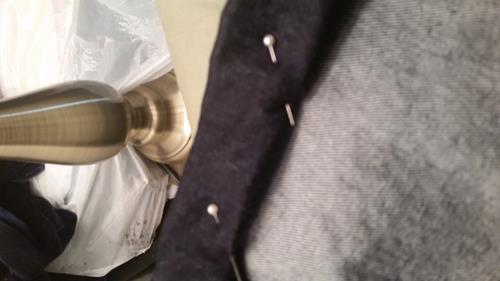
- On the back pants piece, pin the dart making sure both sides of the outer edges where you stitch meet. Sew the dart from the top down almost to the end of the dart.
When you get to almost the end, lift the presser foot and leave a length long enough to tie the thread off twice. Tie the end off. Repeat for the other dart. Press the darts toward the side seams.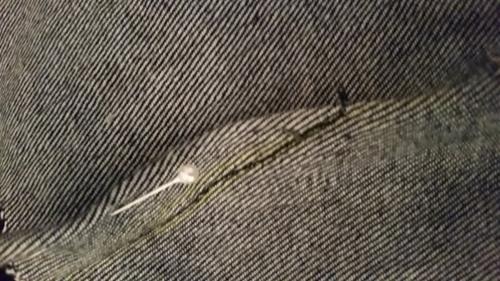
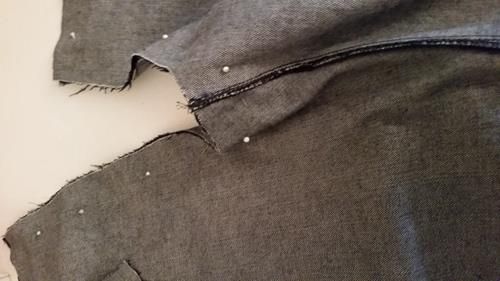
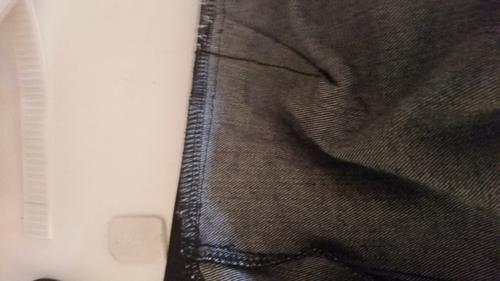
- Pin the back piece to the front piece at the inner leg only, and then stitch.
- Next, serge the edge you just sewed.
- Press the serged seam on the wrong side of the inner leg down.
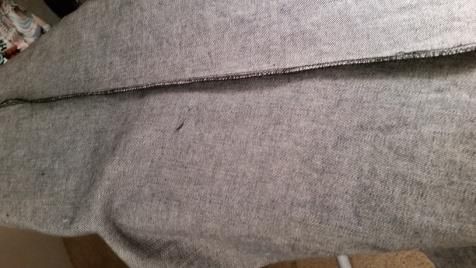
- Press the outer seam on the right side of the inner pants leg down.
- Edgestitch the inner pant leg seam.
- Press the inner pants leg seam you just edge stitched down on the right side.
- Repeat the processes for the other pants leg starting with pinning the front to the back pants leg to this step.

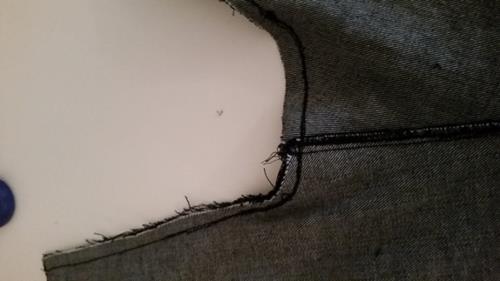
- Turn to the wrong side and pin the two pant legs pieces together in the crotch area.
- Sew the crotch area seam with a reinforced stitch, or stitch ¼” from the original seam allowance close to the garment edge. Serge close to the reinforced seam (or trim close to the second line of stitching and finish as desired).
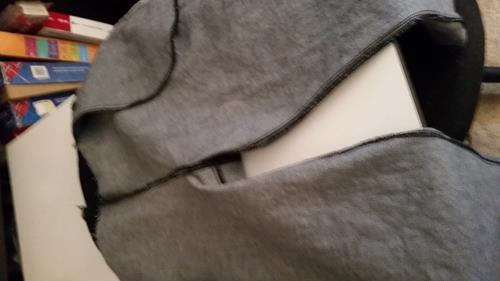
- Turn garment, pin and stitch the back to the front at the sides.
- Hem the pants legs. First Serge (or zigzag) the lower legs of pants at the bottom and turn the hem edge under ¼”, and then press it. Turn this edge under 1 to 1.5” (or width desired) and pin then press.
- Sew down the seam at the top of the hem you created, and then press the hem.
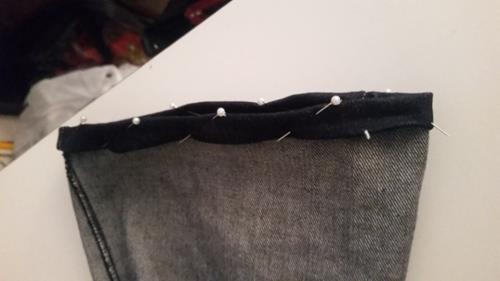
- Pin and sew the front to the back piece of the waistband.
- Sew the other side of the waistband together, and check the waistband seams match the side seams of the pants, then serge.
- Open the waistband to the wrong side and press the seams down. Remember to use a heat setting low enough to avoid melting the interfacing. On the right side of the waist, fold it in half and press.
- Open the waistband and pin the wrong side to the right side of the pants match the sides of the waistband to the sides of the pants.
- Check the waistband on the right side of the pants to be sure you have pinned in all needed areas (e.g., top of the pocket).
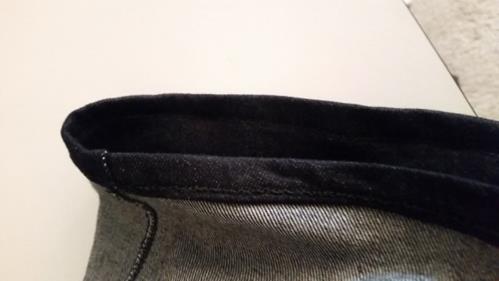
- Sew only the one edge of the waistband you pinned and serge.
- Press down the seam where the one edge of the waistband was attached to the pants.
- Fold down the open edge of the waistband down to meet the seam that was sewn to check the band and any curve is aligned properly.
- Open the folded waistband and serge the unfinished top edge.
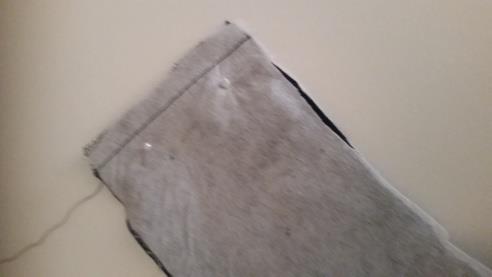
- Cut the desired length of 1.5” elastic (or desired width) to insert in the back of the pants. Pin one side of the elastic to a side seam above the waistband fold. Be sure to allow enough room from the fold of the waistband and the bottom seam so the elastic won’t get stuck in the seam.
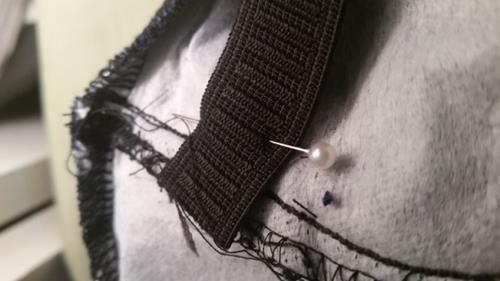
- Put a safety pin on the other end of the elastic so it can easily be pulled through to the other end.
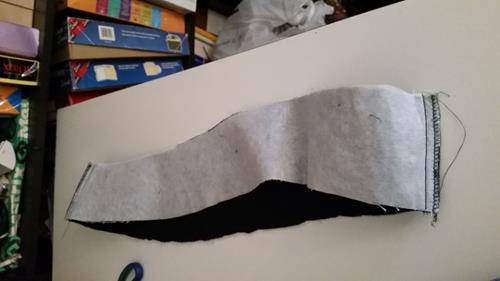
- Pin the folded waistband to the inside finished a seam. Make sure the elastic is out of the way but don’t pin it to the other side seam. Note: If the bulk of the material is not too heavy to sew through, fold under the edge of the waistband 1/4“ before pinning. I ended up opening up the edge of the serged seam I had folded under as it was too bulky to sew through.
- Stitch in the side seam after making sure it aligns with the side seam on the outside.
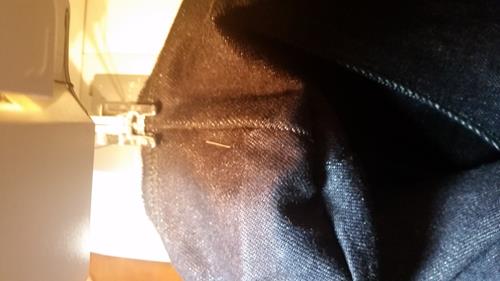
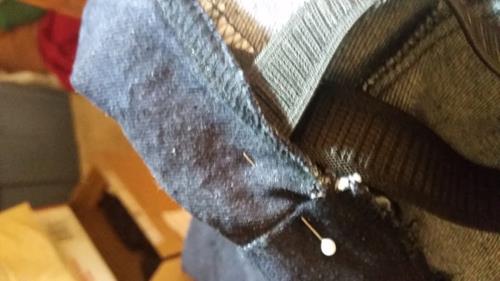
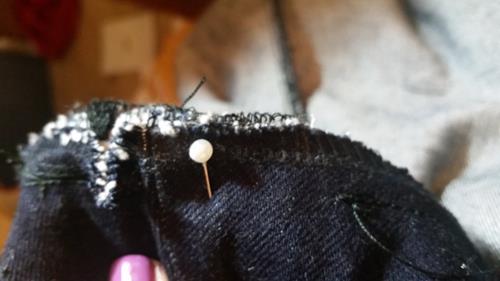
- Stitch the waistband down on the right side of the pants leaving an opening wide enough near the opposite side seam to pull the elastic through and pin the elastic to the other side of the side seam. Place a pin in the opening you left to make it easy to identify.
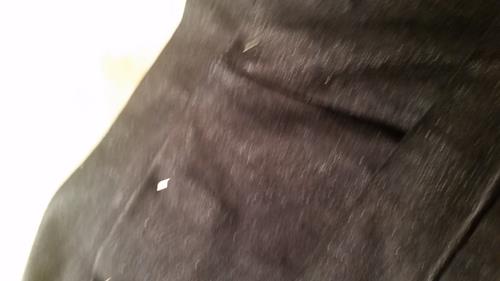
- Edgestitch the seam on the right side of the pants excluding the opening left to pull the elastic through.

- On the inside of the waistband where the opening is, pull the elastic through making sure it is clear of the sewn seam and is turned the correct way all the way around.
- Pull the elastic over about 1” past the open side seam. While holding the elastic, re pin the waistband vertically checking to confirm the elastic is secured down. Sew down the opening you left to pull the elastic through.
- Turn the pants to the right side and stitch in the side seam being sure to catch your elastic.
Stitch in the other side seam being sure to catch your elastic. Then edgestitch the opening you left open to pull the elastic through on the right side.