29 Step-By-Step Images Of DIY Top With Cowl Neck Collar

Here is the full tutorial with 29 step by step photos of Top with Cowl Neck Collar–Orange Crushed Panne Velvet.
1) Cut two pieces of the back section of the top (wrong sides of the material together). Be sure to pin with the stretchy portion of the fabric going across. Cut out or mark notches.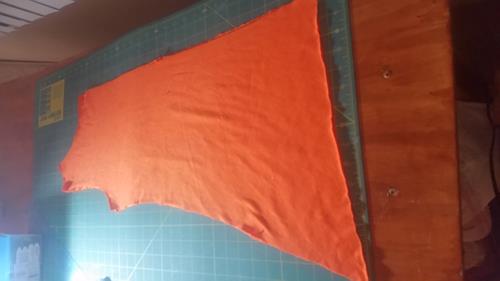
2) Cut out the front section on the folded edge of material with the wrong sides together.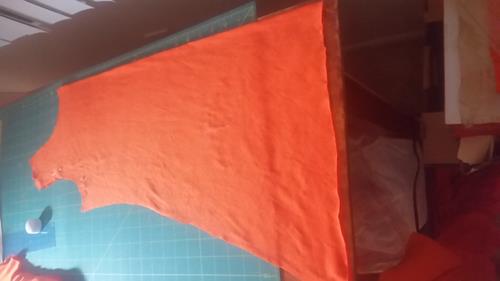
3) Cut out the collar (cowl for the neck) on the folded edge of the material. (Be sure to pin and cut with the stretch going across.)
4) Cut out the sleeves of the top wrong sides together (adjust sleeve length).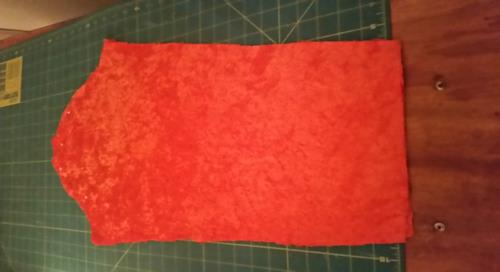
5) Pin together the back center seam matching notches.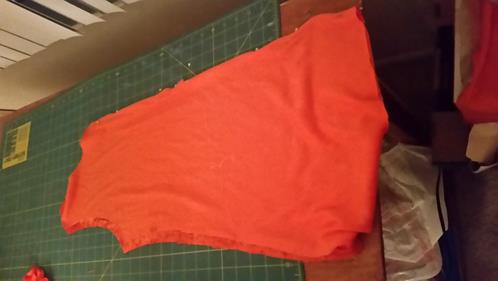
6) Stitch the center back seam using a 5/8” seam allowance.
7) Serge the center back seam (or finish as desired, e.g., zig-zag).
8) Pin the front of the top to the back section at the shoulders wrong sides together and stitch using 5/8” seam allowance.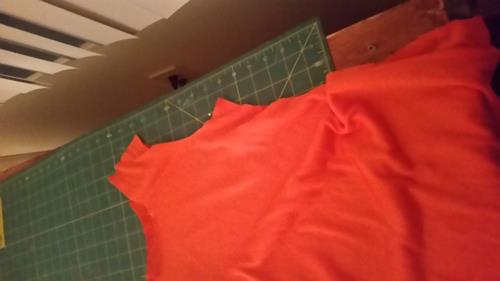
9) Pin the sides of the top and back together at matching notches. Stitch both sides together using a 5/8” seam allowance. Then serge the shoulder and the side seams (or finish the seam edges as desired).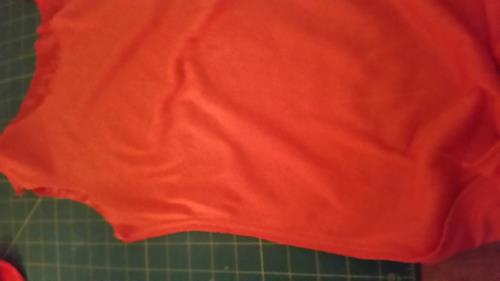
10) Fold the edges of the collar together. Sew a 5/8” seam.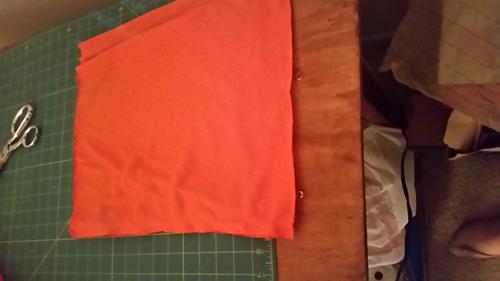
11) Press the 5/8” seam flat. (Cover with a pressing cloth if needed.)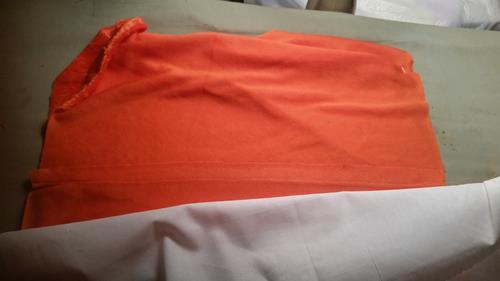
12) Trim the bottom side of the seam to ¼” width.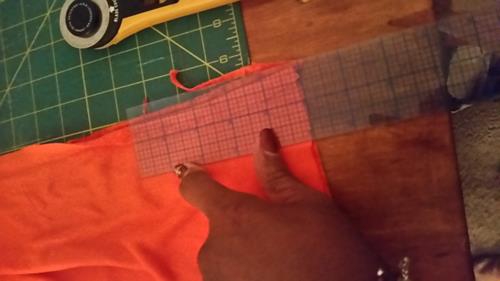
13) Fold over and pin the top part of the uncut seam under the trimmed edge. Press the seam. Note: This is known as making a flat fell seam.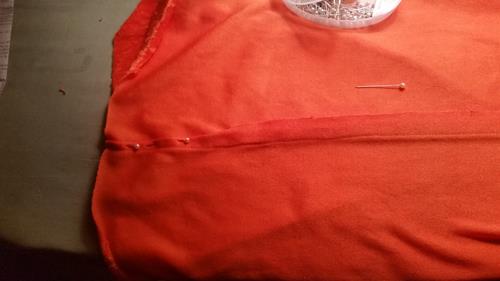
14) On the wrong side, sew a seam close to the folded over pressed edge. Turn the garment to the right side where you should see a neat line of stitching across from the original seam on the right side of the collar.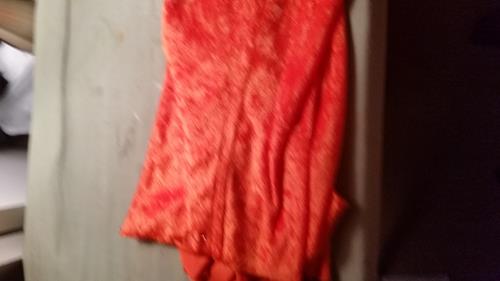
15) Press this seam on the wrong side of the material. (Cover with pressing cloth as needed.)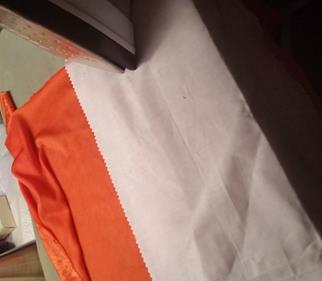
16) Attach the collar to the neck of the top (right sides together) at matching notches (the seam of the collar should be in the middle of the center back of the top). Sew using a 5/8” seam. Press the seam down towards the neckline.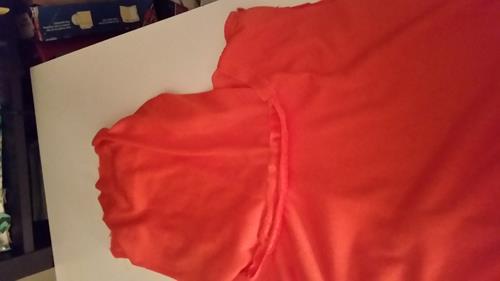
17) On the outside (right side of the top), pin down the seam created by attaching the collar to the neckline and topstitch around the neckline.
Turn back the edge of the collar to the inside and tack to the neck at center back.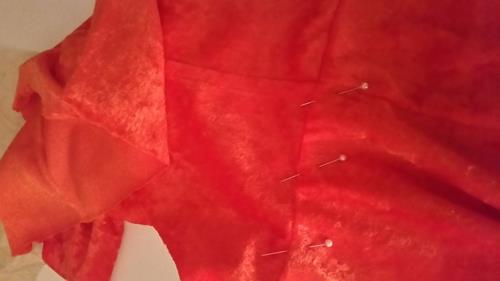
18) Ease stitch the top of both sleeves on the 5/8” seam allowance between the two notches at the top bell curve portion of the sleeve.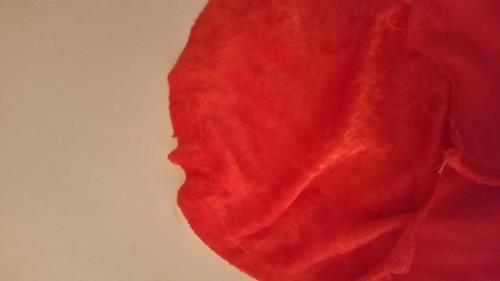
19) Fold the sleeves wrong sides together. Pin the sides together (leaving the rounded top section open) and stitch the sleeve seam together using a 5/8” seam allowance. Then serge the side seams (or finish the seam edges as desired).
20) Serge the bottom of the sleeve. Then fold the serged seam under 5/8” inch and stitch down. Press the finished seam.
21) Pin the sleeves to the sleeve hole at matching notches, making sure the marked circle is at the top of the shoulder seam; gather using ease stitches as needed to align the sleeves.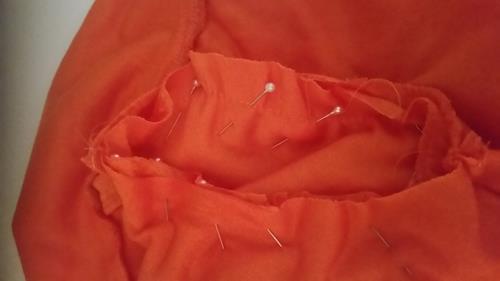
22) Check the right side of the top to make sure the sleeve and side seams match up.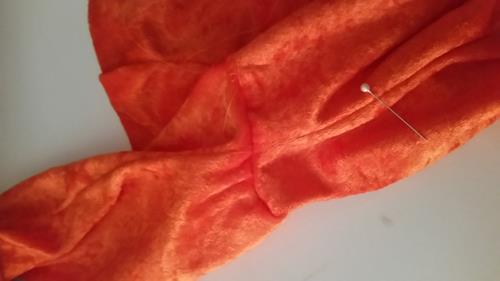
23) Serge the seam where the sleeve was attached.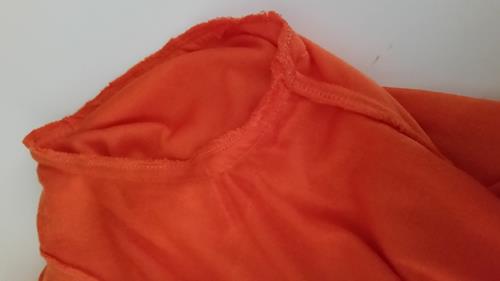
24) Serge the bottom edge of the garment, making sure to not cut off the “v” point on both sides.
25) Pin down the side seams. Make sure the side seams are pressed and folded in the same direction at the top and bottom of the garment before folding up the hem. Note: Fold the seam open if not serged.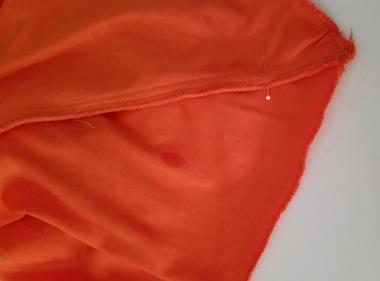
26) Turn up a 5/8” hem on the lower edge of the tunic, making sure to pivot while folding the hem and sewing in order to leave the “V” point at both sides of the bottom.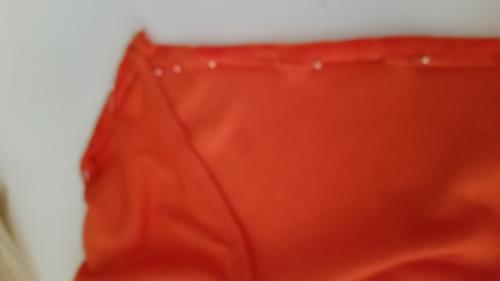
27) Stitch and press the bottom hem.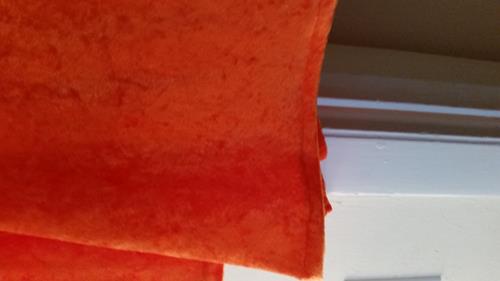
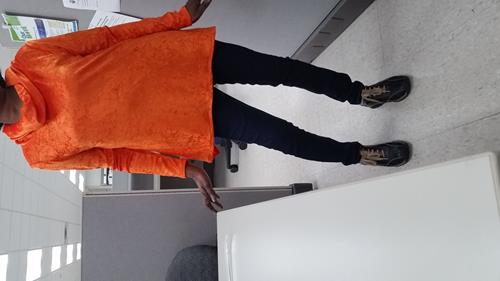
28) Finished top with Cowl Neck Collar.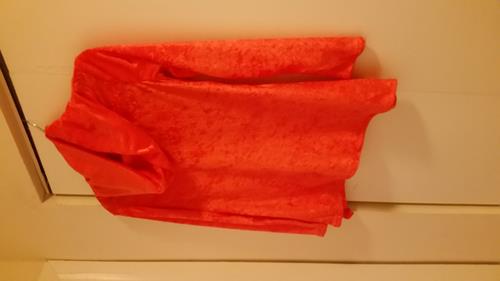
29) Here is the final look of this. Go on and try this for yourself, and let me know in the comments below if you need any clarifications on any step of the process.